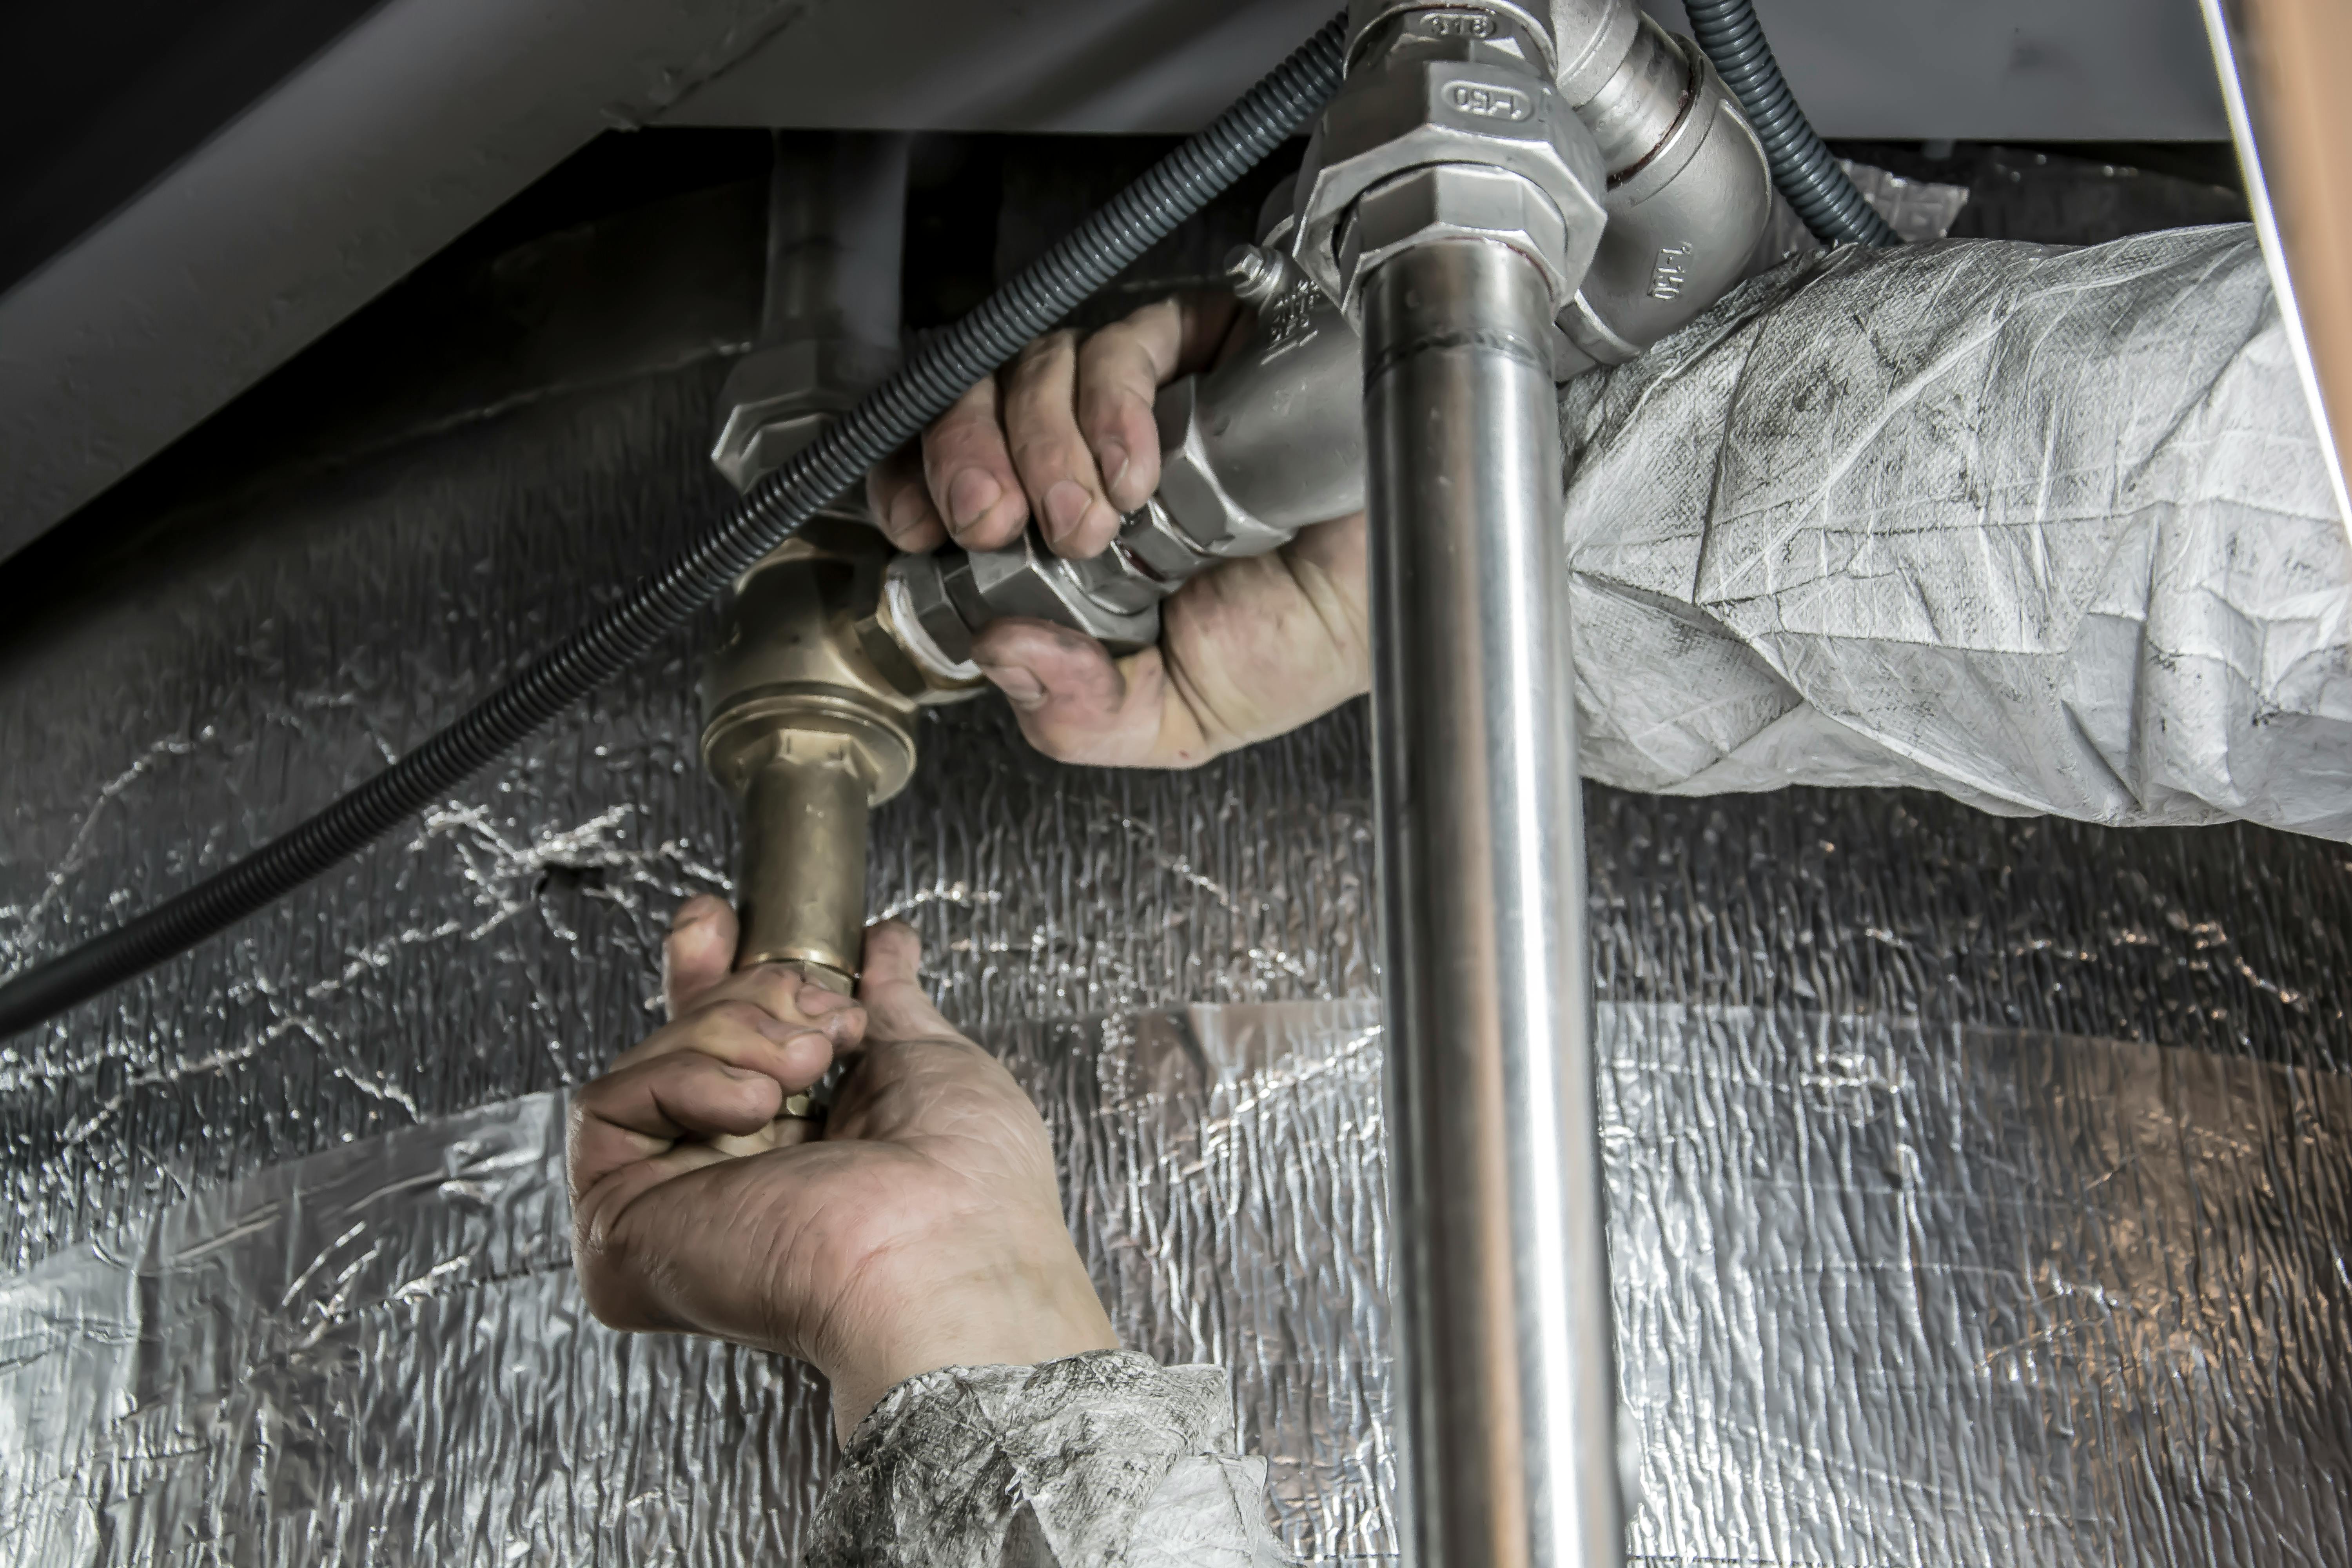
Slab leakage can be a homeowner’s nightmare, often leading to costly repairs if not addressed in a timely manner. Understanding the intricacies of slab leakage repair is essential for maintaining the structural integrity of a building. This guide aims to provide a comprehensive overview of how to identify, diagnose, and repair slab leaks yourself. While professional services are recommended for extensive damage, understanding DIY methods can save time and money for minor issues. By exploring the steps and techniques involved in slab leakage repair, homeowners can take proactive measures to protect their property.
Identifying Slab Leakage
Before diving into repair methods, it’s crucial to recognize the signs of a slab leak. Early detection can prevent further damage and reduce repair costs. Here are some common indicators:
- Unexplained increase in water bills
- Warm or damp spots on floors
- Visible cracks in floors or walls
- Mold or mildew growth
- Low water pressure
For homeowners unsure about these signs, professional slab leak detection services can provide an accurate assessment.
Understanding the Causes
Knowing the root causes of slab leakage helps in both prevention and repair. Common causes include:
- Poor construction practices
- Corrosion of pipes
- Soil shifting or settling
- Natural disasters like earthquakes
Addressing these issues early can prevent the need for more extensive slab leak repair down the line.
DIY Slab Leakage Repair Techniques
Gathering Necessary Tools
Before starting any repair work, gather the following tools:
- Pipe cutter
- Wrenches
- Epoxy
- Leak detection dye
- Plumber’s tape
Step-by-Step Repair Process
- Turn off the water supply to prevent further damage.
- Use leak detection dye to locate the exact source of the leak.
- Excavate the affected area carefully to expose the leaking pipe.
- Cut out the damaged section of the pipe using a pipe cutter.
- Replace with a new section of pipe, ensuring a snug fit.
- Secure connections with plumber’s tape and apply epoxy for additional sealing.
- Test the repair by turning the water back on and checking for leaks.
While DIY methods are viable for minor leaks, significant damage might require professional residential slab leak repair services.
When to Call a Professional
While many slab leaks can be tackled with DIY methods, certain situations necessitate professional intervention. Consider reaching out for slab leak repair near me if:
- The leak is extensive or recurring
- There is significant structural damage
- DIY methods fail to resolve the issue
Professional services ensure thorough slab leakage repair and long-term solutions.
Conclusion
Slab leakage can pose significant challenges, but with the right knowledge and tools, many homeowners can effectively manage minor repairs themselves. Understanding the signs and causes of slab leaks is crucial, as is knowing when to seek professional assistance. This guide serves as a starting point for those looking to protect their homes from the damaging effects of slab leaks.