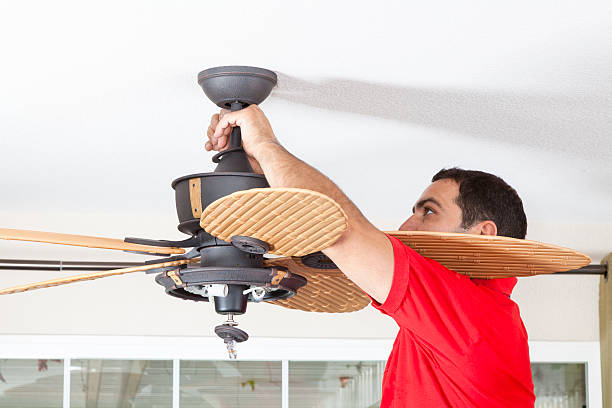
Installing a ceiling fan is an excellent way to improve air circulation and add a stylish touch to any room. Whether upgrading your existing fixtures or starting from scratch, understanding the steps involved in ceiling fan installation can make the process much smoother. This guide aims to equip you with the knowledge and confidence needed to undertake a successful installation, whether you are doing it yourself or hiring a professional.
Tools and Materials Needed
Before beginning the installation process, gather the necessary tools and materials:
- Screwdriver set
- Wire strippers
- Voltage tester
- Adjustable wrench
- Ladder
- Ceiling fan kit
- Electrical box rated for ceiling fans
Preparing for Installation
Choosing the Right Location
Selecting the appropriate location for your ceiling fan is crucial for optimal performance. Consider the following factors:
- Ensure there is enough clearance from the blades to the walls and ceiling.
- Check for possible obstructions like light fixtures or furniture.
- Verify the ceiling height to accommodate the fan and its downrod.
Safety Precautions
Safety should be a top priority during installation. Follow these precautions:
- Turn off the power to the circuit where the fan will be installed.
- Use a voltage tester to ensure no electricity is flowing to the installation site.
- Securely position the ladder on a stable surface.
Installation Steps
Mounting the Fan Bracket
The first step involves attaching the mounting bracket to the electrical box:
- Secure the electrical box to a ceiling joist to support the fan’s weight.
- Attach the mounting bracket included with the fan kit to the electrical box.
Assembling the Fan
Next, assemble the fan components:
- Follow the manufacturer’s instructions to assemble the fan blades and light kit, if applicable.
- Attach the fan to the mounting bracket, ensuring it’s securely fastened.
Connecting the Wiring
Proper wiring is essential for the fan to operate safely:
- Connect the fan wires to the corresponding wires in the ceiling box: typically, black to black, white to white, and green or copper to the ground wire.
- Use wire connectors to secure the connections and wrap them with electrical tape.
Testing the Installation
Once the fan is installed, it’s crucial to test its functionality:
- Restore power to the circuit and test the fan and light functions using the switch or remote control.
- Check for any wobbling or unusual noises, which may indicate a need for adjustment.
When to Hire a Professional
While many homeowners successfully install ceiling fans themselves, certain situations might require professional assistance. Consider hiring a professional for ceiling fans installation if:
- The ceiling is too high or the fan is too heavy.
- Additional wiring or a new junction box is needed.
- You lack the necessary tools or electrical knowledge.
For those living in specific regions, searching for ceiling fan installation near me can yield convenient and reliable results. Additionally, if residing in Port Macquarie, specialized services can be found for ceiling fan installation port macquarie to ensure local experts handle the process with precision.