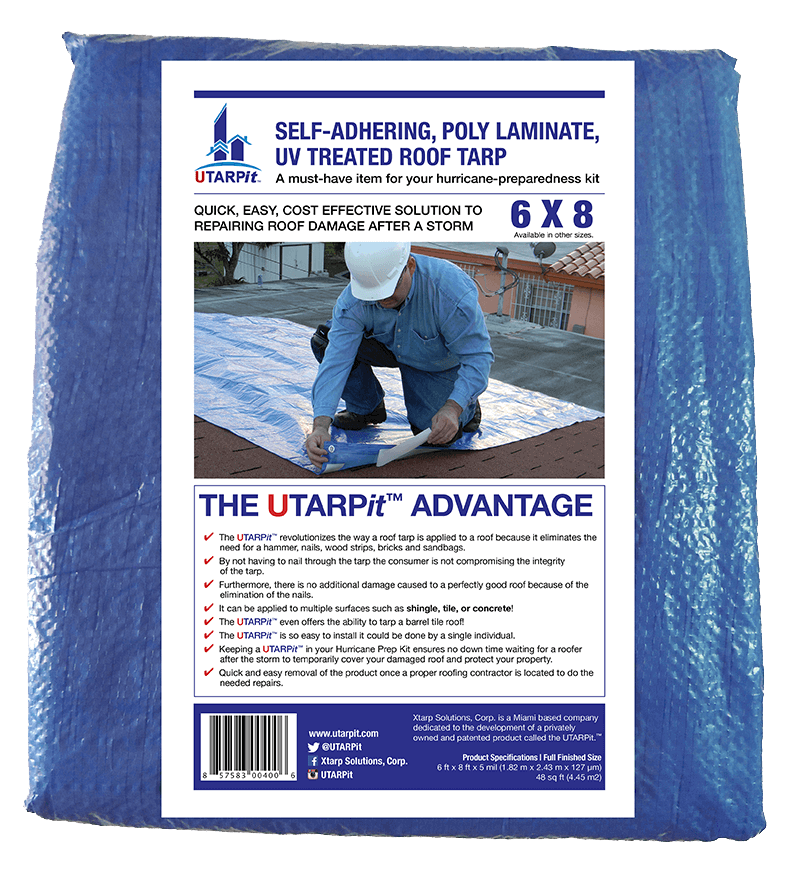
When adverse weather conditions strike, a self-adhesive roof tarp can be an essential tool to protect your home from further damage. These tarps offer a quick, reliable, and cost-effective solution to temporary roof repairs, ensuring that your property remains safe and dry until permanent repairs can be made. This guide provides a comprehensive overview of self-adhesive roof tarp installation, highlighting key steps, necessary tools, and expert tips to ensure an effective application.
Understanding Self-Adhesive Roof Tarps
Self-adhesive roof tarps are designed to offer a temporary protective covering for roofs that have been damaged due to storms, high winds, or other environmental factors. These tarps come with an adhesive backing that simplifies installation and reduces the need for additional fasteners.
Key Benefits
- Easy to install with minimal tools.
- Durable and weather-resistant material.
- Provides immediate protection against leaks.
- Cost-effective solution for emergency roof repairs.
Preparation and Tools Required
Proper preparation ensures a smooth installation process. Before starting, gather the necessary tools and materials:
- Self-adhesive roof tarp (check out this option for tailored solutions).
- Utility knife or scissors for cutting the tarp to size.
- Measuring tape to ensure accurate dimensions.
- Broom or leaf blower to clear debris from the roof surface.
- Heavy gloves for personal protection.
Step-by-Step Installation Guide
1. Assess the Damage
Before installing the tarp, carefully assess the extent of the roof damage. This helps determine the size of the tarp required and identifies any immediate hazards, such as loose shingles or structural weaknesses. Explore advanced guides and tips for more detailed assessment techniques.
2. Clean the Roof Surface
Clear any debris, dirt, or loose materials from the damaged area using a broom or leaf blower. A clean surface ensures optimal adhesion of the tarp to the roof. Learn more about this approach here.
3. Measure and Cut the Tarp
Use a measuring tape to determine the dimensions of the damaged area, adding extra length on all sides to ensure full coverage. Cut the tarp to size using a utility knife or scissors.
4. Position and Secure the Tarp
Carefully position the tarp over the damaged area, ensuring it extends beyond the edge of the damage. Remove the protective film from the adhesive backing as you gradually lay the tarp down, smoothing out any wrinkles or air bubbles. Discover expert strategies here for optimal positioning techniques.
5. Check for Proper Adhesion
Ensure the tarp is securely adhered to the roof surface by applying firm pressure along the edges and seams. This step is crucial to prevent wind uplift and water infiltration. Find out more about this approach to achieve a secure fit.
Maintenance and Safety Tips
To maintain the effectiveness of your self-adhesive roof tarp, consider these safety and maintenance tips:
- Regularly inspect the tarp for signs of wear or damage, especially after severe weather conditions.
- Ensure that the adhesive remains intact and the edges are firmly secured.
- Replace the tarp if it shows significant signs of deterioration.
- Exercise caution when working on roofs to prevent falls and injuries.
In conclusion, self-adhesive roof tarps are a practical solution for homeowners facing unexpected roof damage. By following the steps outlined in this guide, you can ensure a successful installation that protects your home from the elements. For further insights and expert recommendations, learn about our tailored solutions to enhance your roof protection strategy.